There was a style of Fried Okra I grew up with that seemed to have little relationship to the over-breaded restaurant and meat and 3 dishes available elsewhere. This style was made by my grandmother, her mother before her, and my own mother. I had the opportunity to enjoy it made by all three along with dishes produced by more aunts than I can count. I choose to call this style and this recipe Homemade Fried Okra. This distinguishes it from the mass-produced over-breaded frozen product found in way too many food eateries.


It is a staple of my household, and I am happy to share it here. The approach to fried okra here is a much lighter version using only a light coating of oil at the bottom of the pan and finishing in the oven.
Notes on Ingredients
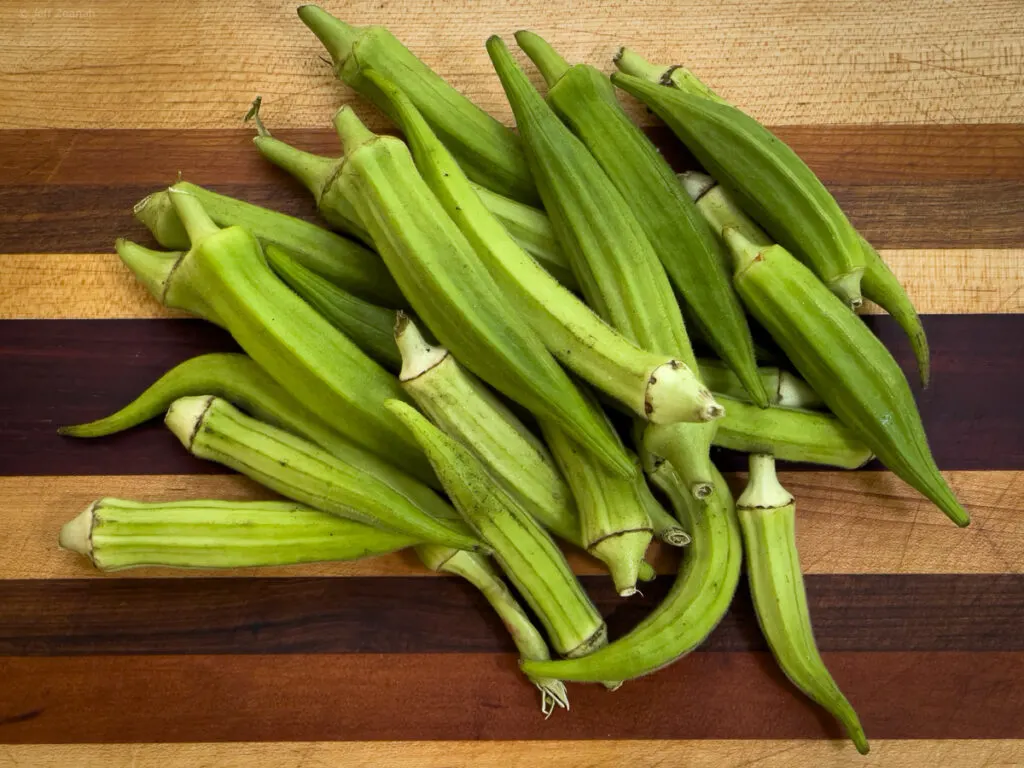
Okra
This works best with medium-sized pods of okra that will cook thoroughly. Larger pods are too tough and stringy. The most common varietal of okra found is the Clemson Spineless, produced by Clemson University in 1939 and available pretty much all over the world now. Yes, you can use some of the showy purple varieties available, but they add nothing to the dish.

Cornmeal
Regular ground cornmeal works best. It needs to be medium to finely ground. For lack of a better description, I am going to call this “Southern style” cornmeal. To my taste, yellow medium ground gives the right nuttiness in taste and a nice browned color when cooked.

Notes on Technique
The key point of this approach is to do less. We don’t work hard to get a thick coat of breading and we only turn gently when needed.
Cast Iron Skillet
A cast iron skillet is by far the tool of choice for this recipe. Further, a cast iron skillet with a good solid cure is more accurate. It is hard to think of a Southern cook attempting to prepare Real Fried Okra without one.
Finish in the Oven
The approach used to prepare the okra is to start on the stovetop with a minimum of oil and finish in the oven. This gives a healthier, tastier fried okra.
Serving
A decent bit of the meal will fall off of the okra prepared this way. Just scoop some up with the okra as you serve.
Related Posts


Real Fried Okra
Generations of simple and healthy
Ingredients
- bunch of okra (roughly 25-30 pods)
- 1 cup medium or fine ground cornmeal
- ~ ⅓ cup all-purpose flour
- salt and pepper to taste
- a few tablespoons of light vegetable or olive oil
Instructions
Required Equipment
12-14 inch cast iron skillet
Medium-sized bowl
Preparing the Okra
- Preheat oven to 425°F (210°C).
- Wash the okra, shake off excess water, but don’t dry—the cornmeal will stick to it better that way.
- Mix the cornmeal and flour in a bowl And the salt and pepper.
- Cut the okra across the pods in pieces (a bit less than half an inch. Cut the narrow ends a bit longer. Discard the stems.
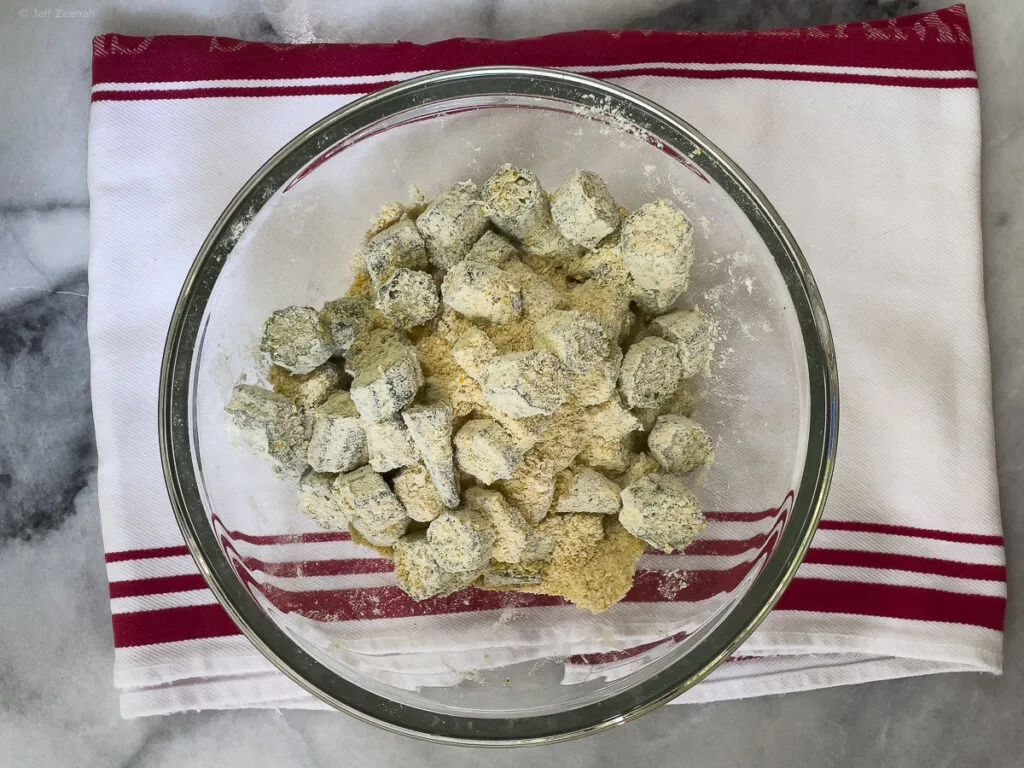
- Coat the okra with the cornmeal mixture by mixing over and under with your hands. Add more cornmeal, if needed.
- Put an iron skillet on the top of the stove and put in some vegetable oil—about an ⅛ inch of oil. Heat the oil to be good and hot, but not hot enough to burn the okra. This can be accomplished by turning the pan on high and then turn down for cooking. (Iron skillets handle high heat well.) I usually add a piece of okra to test the temperature of the oil.
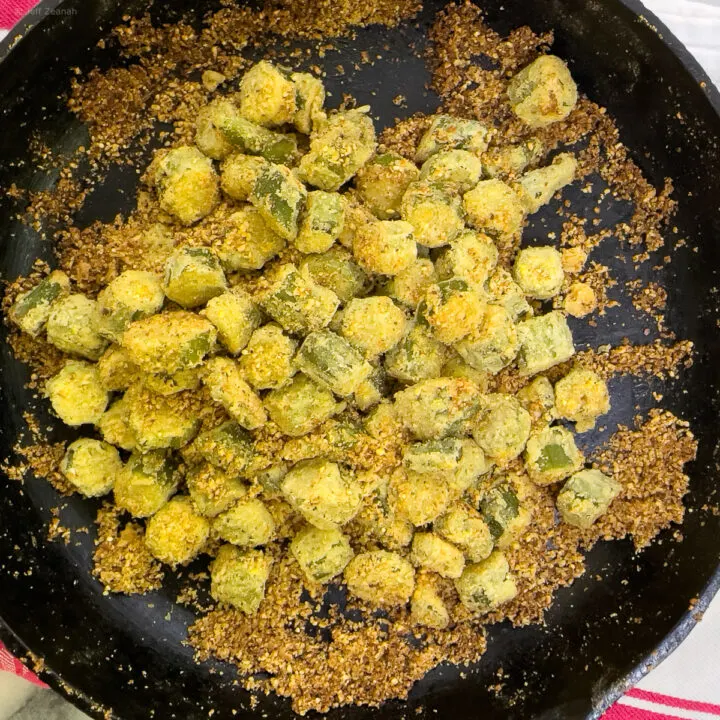
- When you are sure it is hot enough, add the okra slowly and carefully not to splatter oil. Add a bit of the unattached cornmeal, it will continue to adhere and cook along side the okra. The okra will start to brown immediately. Turn the okra over and under with a metal spatula as it starts to brown, making sure that none get too brown. (See note below.)
- After all the okra is slightly browned, but not completely done, take the pan and place in a preheated oven. Continue to turn over and under in the oven about every 5 to 10 minutes until done and completely brown. It should be finished in 15-20 minutes.
Notes
Tip: While on the stove, the oil and cornmeal can absorb the oil very fast. If you find you have not started with enough oil, use your spatula to move the okra to the side and add more oil. After the oil has heated slightly, you may continue turning the okra as before.