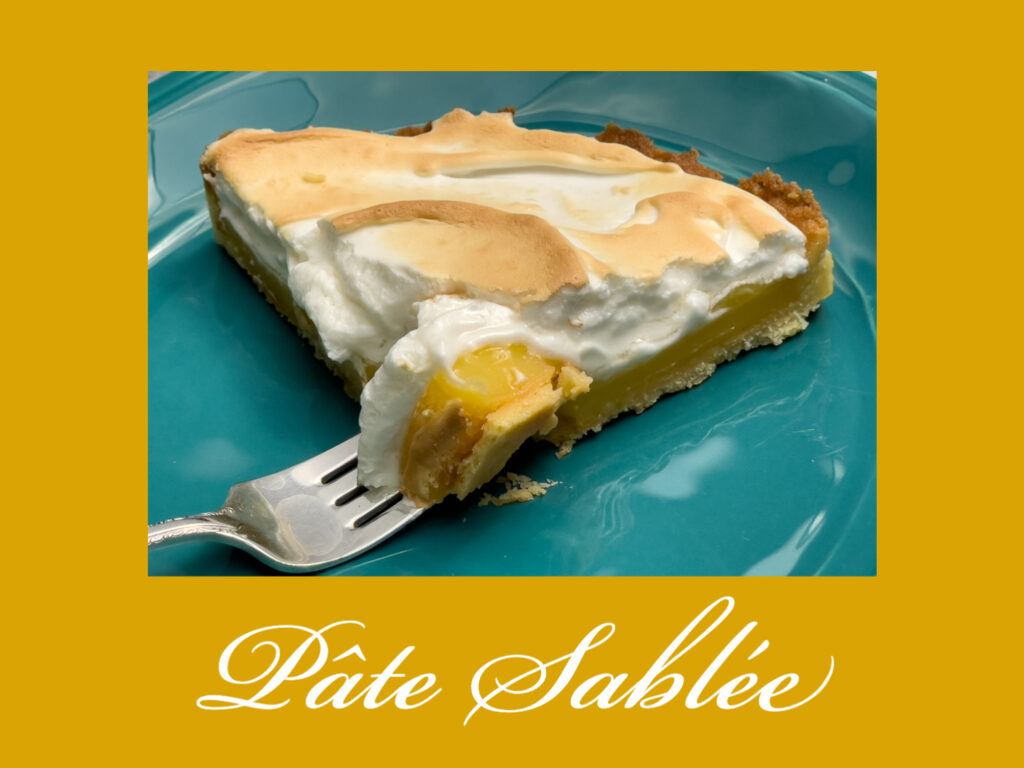
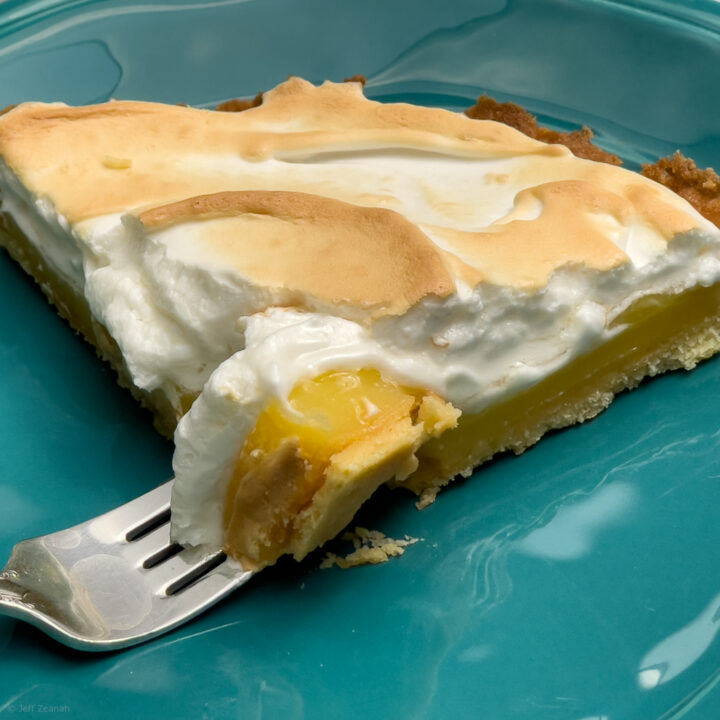
Pâte Sablée (roughly translated as sandy dough) is the perfect base for many sweet pastries such as fruit tarts. Learn to make this one and you are well on your way to mastering tarts.
It is also a perfect offset to creamy fillings, like my French lemon tart (tarte au citron). It is in this tart I think it excels. Perfectly crisp, balanced butter and sweet, and offsets the balanced lemon and sweetness of the tart filling well.
Pâte Sablée differs from a similar pastry dough, Pâte Sucrée (sweet dough), in technique and by having less butter. I enjoy making all tart doughs, since there is satisfaction in creation. The tactile stimulation of processing the dough and building the texture is satisfying. Working with this dough magnifies that satisfaction.
You can read more about the various tart pastries and review my efforts to perfect them on other entries on my blog. All are gathered here.

Notes on Technique
Sablage
Creating the crust involves the use of the technique of sablage. This technique involves finely working the flour and butter in your hands and rubbing the paste to get a fine powdery sandy texture. Especially, pay attention to the instruction for rolling the dough into a smooth ball. This brings the dough together nicely.


Chilling the Dough
Shrinkage is a problem with this crust. To minimize shrinkage press the dough tightly against the corners of your tart pan without stretching the dough. After forming the shell, chill the shell well in the freezer – at least 30 minutes.
Sealing the Dough
This dough can be used for making tarts with relatively liquid ingredients (think strawberries). To help prevent leakage, bake the dough for about 15 minutes (observing the color of the dough to determine doneness), then remove it from the oven and then brush on a very thin coat of well-beaten egg yolk. Return to oven and bake for 5 more minutes.
Related Posts


Pâte Sablée
Start with the foundation
Ingredients
- 250 g (1 cup, plus 1 Tablespoon) flour
- 125 g (9 Tablespoons) butter, chilled and cubed
- 1 large egg
- 125 g (1 cup) powdered sugar
- ¼ teaspoon of salt
Instructions
Preparing the Pâte Sablée
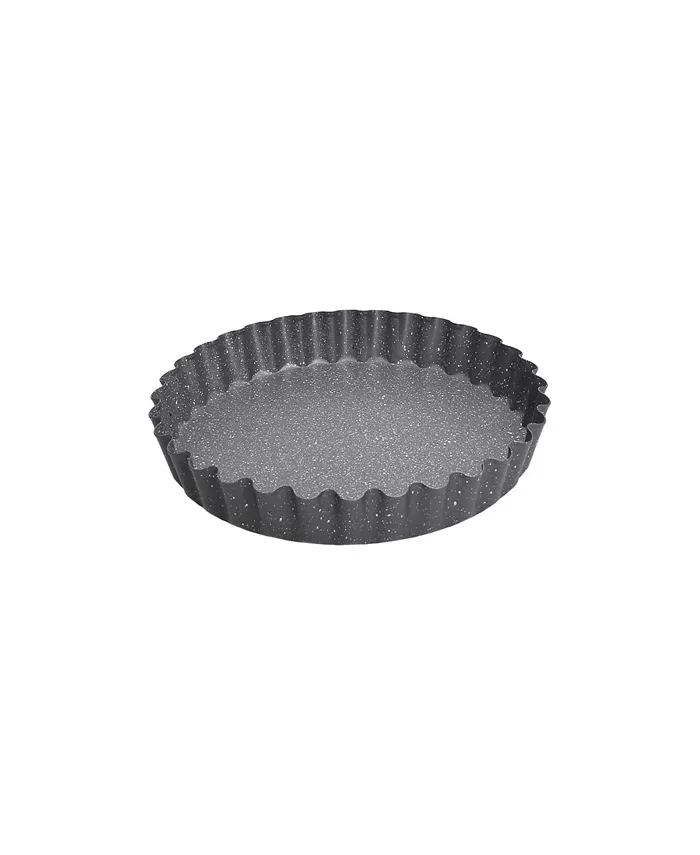
- Before starting determine what size rings you will use. Two 18 cm (7") rings work well for nicely sized quartered pieces or one bigger 24cm (9 ½") ring. If rings are not available, removable bottom tart pans of the same size will work.
- Sift the flour into a bowl, then add the 125g powdered sugar and salt. Mix the ingredients. Then cut the butter pieces in.
- Mix the ingredients by rubbing them between the hands. Continue rubbing until it looks like grains of sand. (Sablage, is the term for this method used as a verb and a noun.) Work relatively fast, so the butter does not melt.
- Create a well in the sablage in the bowl. Add the egg to the well. With the fingers of one hand work the egg into the sablage. Work in a circular motion starting in the center and working outward until completely incorporated. Continue to work through the dough until thoroughly mixed. When mixing is completed your hands will be covered with a bit of dough. Dip your fingers in a small bowl of flour and rub the flour across the sticky dough. This will allow you to remove the dough from your fingers.
- On a work surface roll the dough into a smooth ball. If using smaller rings, as suggested, divide the dough into two balls. The dough should not be sticky if you have worked fast enough. Cover with plastic wrap and refrigerate for 30 minutes to an hour. (See note)
Forming the Tart Shell
- If using the recommended rings, place parchment paper on a sheet pan and place the rings on the paper before starting.
- Remove your dough from the refrigerator. Pinch off a small bit of the dough (about half the size of your thumb). Rub this dough around the inside of the ring, creating a buttery/floury coating. A clearly visible coating should be the result. This will help keep the cooked tart from sticking.
- Flour your work surface. Begin by pressing your rolling pin in the dough in three places, pressing it flat. Turn the dough 90° and repeat. (Hint, a pastry scraper can help turn the dough.) This will start the dough out as a nice circle. Repeat this a few times (turning 90° each time) until the dough is somewhat spread. Now you can start rolling the dough out easily making a circular tart. Continue to roll, turning 90° and dusting with flour to keep it from sticking.
- When the dough is desired thickness and most importantly sized bigger than your ring, lightly dust the top of the dough with flour, then gently roll the dough up on the rolling pin and lay it on the ring.
- Unroll the dough over the ring, Begin by gently lifting the edges of the dough and pushing the dough into the ring, Work around the ring using your thumb and index finger until the dough is firmly against the edges of the ring. Fold the leftover dough over the edges of the pan and allow it to hang over. Then use the rolling pin to roll over the edges to cut the extra dough away. Lastly, using the tip of your thumb gently push the dough off the edge of the ring very slightly so that it will separate from the ring easily after baking.
- Tap the dough with the tines of two forks as if you were lightly beating a drum. Create holes in the dough all around. (This will keep the dough from rising when baking.)
- Place the dough (rings and pan) in the freezer to rest the dough. This will allow the dough to be baked blind (without pan weights). Leave the dough in the freezer for about 30 minutes (or while making the filling).
- Preheat oven to 400°F.
- Place the chilled crust in the oven to bake for approximately 12-16 minutes. The crust should be light brown when removed. (The crust must be frozen and have the holes pricked to bake this way -- without pie weights.)
Notes
Chilling the dough -- there are two schools of thought on working with the dough. Some recommend no more than 20 minutes of chilling, to make it easy to work with. Others recommend more. What is best may depend on your work environment. My recommendation is to start with the lower time and place it back into the refrigerator if it is too soft.
Nutrition Information:
Yield: 12 Serving Size: 1Amount Per Serving: Calories: 365Total Fat: 16gSaturated Fat: 10gTrans Fat: .6gUnsaturated Fat: 5.3gCholesterol: 101mgSodium: 216mgCarbohydrates: 47gFiber: .7gSugar: 30gProtein: 5.7g